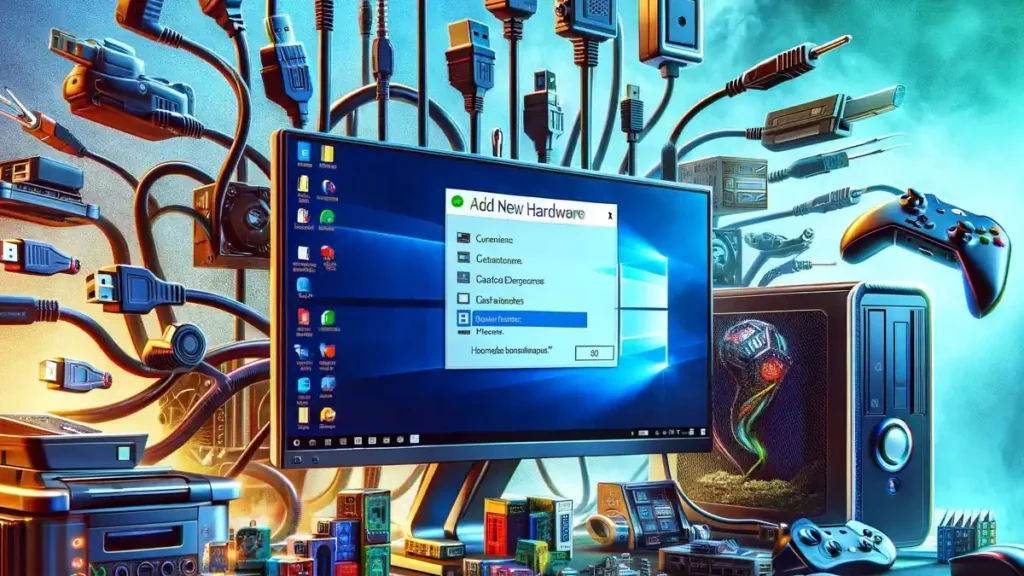
In the ever-evolving world of Windows operating systems, the ‘Add New Hardware’ feature has been a cornerstone in system customization and hardware integration. From its early days in Windows 95 to its modern iteration, this feature allows users to seamlessly incorporate new hardware components into their systems.
This article delves into the journey and functionality of the ‘Add New Hardware’ feature, exploring how it has evolved and adapted to the changing landscape of Windows environments. Expect a thorough exploration of its uses, from simple peripheral additions to complex hardware integrations, alongside a look at how it has transformed over various Windows versions.
In this article:
- Introduction to ‘Add New Hardware’ in Windows
- Historical Evolution
- Using ‘Add New Hardware’ in Modern Windows
- Behind the Scenes: How Windows Detects and Installs New Hardware
- Advanced Use Cases of ‘Add New Hardware’
- References
1. Introduction to ‘Add New Hardware’ in Windows
The ‘Add New Hardware’ feature in Windows is a fundamental tool designed to assist users in installing and configuring new hardware devices on their computers. This feature, accessible through the Control Panel in most versions of Windows, provides a user-friendly interface for detecting and setting up hardware components ranging from simple peripherals like printers and keyboards to more complex devices like network adapters and storage units.
Functionally, ‘Add New Hardware’ automates the recognition and installation process of new devices. When a new piece of hardware is connected to a Windows PC, this feature springs into action, identifying the device and guiding the user through the installation process. This includes the identification of the necessary drivers, which are software components that allow the operating system to communicate effectively with the hardware.
Overview of its Importance in Windows OS
The significance of the ‘Add New Hardware’ feature in Windows cannot be overstated. It represents a crucial aspect of system management and user experience in the Windows ecosystem for several reasons:
- User Accessibility: It demystifies the process of hardware installation for users of all levels, making it an accessible and straightforward procedure.
- System Compatibility: By ensuring that the correct drivers are installed for each device, this feature maintains system stability and compatibility, preventing issues that can arise from improper hardware configuration.
- Time Efficiency: The automated detection and installation process save users a considerable amount of time and effort, streamlining the setup of new devices.
- Adaptability: As Windows has evolved, so has the ‘Add New Hardware’ feature, adapting to support a growing range of devices and technologies, reflecting its flexibility and scalability in the Windows architecture.
In essence, the ‘Add New Hardware’ feature embodies Windows’ commitment to providing an efficient, user-friendly, and adaptable operating system. It plays a pivotal role in enhancing the overall user experience, making hardware integration a seamless part of interacting with Windows OS.
2. Historical Evolution
From Windows 95 to Present: Tracing the Development
The journey of the ‘Add New Hardware’ feature in Windows is a reflection of the operating system’s evolution, adapting to the changing landscape of computer hardware and user needs.
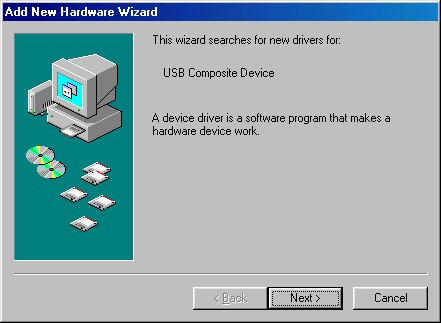
- Inception in Windows 95. Introduced in Windows 95, this feature was a groundbreaking addition. It marked a significant shift from the manual hardware configurations of previous DOS-based systems, offering a more intuitive and automated approach to hardware installation.
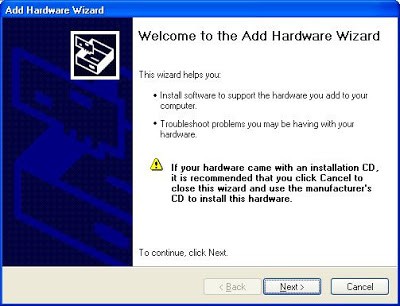
- Enhancements in Windows 98 and XP. With Windows 98 and XP, the feature saw enhancements in user interface and functionality. The introduction of the ‘Plug and Play’ service simplified the process further, allowing many devices to be automatically recognized and configured without user intervention.
- Refinement in Windows Vista and 7. The release of Windows Vista and 7 brought more refined versions of the feature. These versions included improved device driver management and enhanced support for a wider range of hardware, reflecting the diversification of computer peripherals and accessories.
- Integration in Windows 8 and 10. In Windows 8 and Windows 10, ‘Add New Hardware’ became more integrated into the overall system settings, moving away from a standalone feature. The focus shifted towards a more unified device management approach, encompassing various types of hardware under a single umbrella in the Device Manager.
Key Updates and Changes Over the Years
Several key updates have marked the evolution of this feature:
- Automated Driver Searches. Over the years, Windows has enhanced the capability of the ‘Add New Hardware’ feature to automatically search for and install the latest drivers from the internet, streamlining the setup process.
- Improved User Interface. Each iteration of Windows brought improvements to the user interface, making the feature more intuitive and user-friendly.
- Expanded Hardware Support. As new types of hardware emerged, from USB devices to advanced graphics cards, the ‘Add New Hardware’ feature evolved to support these technologies, ensuring compatibility with a broad spectrum of devices.
- Enhanced Troubleshooting Tools. Incorporating advanced troubleshooting tools within the feature helped users resolve hardware issues more effectively, reflecting an emphasis on self-sufficiency and problem-solving.
The ‘Add New Hardware’ feature’s historical progression mirrors Windows’ commitment to accessibility, efficiency, and adaptability. This evolution not only enhanced user experience but also kept pace with the rapid advancements in computer hardware and technology.
3. Using ‘Add New Hardware’ in Modern Windows
Step-by-Step Guide on Adding New Hardware
Adding new hardware in modern Windows systems is a streamlined process:
- Connect the Hardware: Start by physically connecting the new hardware device to your computer.
- Automatic Detection: Upon connection, Windows typically detects the new device automatically. A notification may appear, indicating that the device is being set up.
- Manual Addition (if needed): If Windows does not automatically detect the device, open ‘Device Manager’ from the Control Panel or by right-clicking ‘This PC’ and selecting ‘Manage’. Then, click on ‘Action’ and choose ‘Add legacy hardware’ to initiate the hardware installation wizard.
- Follow the Wizard: Proceed with the instructions in the hardware installation wizard. This may involve selecting the type of hardware you are installing or allowing Windows to search for the appropriate drivers.
- Install Drivers: If Windows cannot find the right drivers, you may need to install them manually. This can be done using a CD provided with the device or by downloading the drivers from the manufacturer’s website.
- Completion: Once the drivers are installed, the device should be ready to use. Restart your computer if necessary.
Tips for Troubleshooting Common Issues
- Driver Issues: If the device doesn’t work after installation, the driver might be outdated or incompatible. Visit the manufacturer’s website to download the latest driver.
- Device Not Recognized: Ensure the device is properly connected. Try different ports or cables to rule out connection issues.
- Conflicts with Other Devices: Sometimes, new hardware might conflict with existing devices. Check Device Manager for any devices marked with a yellow exclamation point and troubleshoot accordingly.
- Use Windows Troubleshooter: Windows includes a troubleshooter that can automatically fix some common issues with hardware.
4. Behind the Scenes: How Windows Detects and Installs New Hardware
Technical Breakdown of Hardware Detection
- Plug and Play (PnP): Modern Windows systems use PnP technology to detect new hardware. When a device is plugged in, the PnP manager queries the device for its ID and determines the best driver to use.
- Device Identification: Each device provides a unique identifier to Windows, allowing the system to match it with the appropriate driver in its driver database.
- Driver Selection: Windows selects the most suitable driver based on the device ID and other criteria, such as driver version and compatibility.
The Role of Drivers and Compatibility
- Drivers as Communicators: Drivers are software that allows Windows to communicate with hardware devices. They translate Windows commands into actions the device understands and vice versa.
- Compatibility Checks: During driver installation, Windows checks for compatibility with the current system version to ensure stable operation.
- Driver Updates: Windows Update regularly provides driver updates to improve device compatibility and performance.
- Manufacturer Drivers: Sometimes, the best drivers for a device are the ones provided by the manufacturer. These can often unlock the full potential of the device.
Understanding these processes demystifies how Windows manages new hardware, highlighting the importance of drivers and the sophisticated mechanisms at play to ensure smooth integration of new devices into the system.
5. Advanced Use Cases of ‘Add New Hardware’
Managing Complex Hardware Setups
In advanced computing environments, managing intricate hardware configurations is a key challenge, where the ‘Add New Hardware’ feature plays a crucial role:
- Networked and Peripheral Devices: In environments with multiple networked computers or peripheral devices, ‘Add New Hardware’ aids in systematically configuring each device, ensuring they function cohesively within the network.
- Custom Hardware Configurations: For custom-built systems or specialized hardware like RAID setups, audio/video editing workstations, or gaming PCs, ‘Add New Hardware’ assists in recognizing and configuring less common hardware types, making sure they are optimally integrated into the system.
- Virtual and Shared Devices: In virtualized environments or systems with shared resources, ‘Add New Hardware’ facilitates the identification and configuration of virtual devices or hardware shared over a network.
Integration with Windows Device Manager
The Device Manager in Windows is a powerful tool for hardware management, working in tandem with the ‘Add New Hardware’ feature:
- Device Identification and Management: Device Manager provides a detailed view of all hardware connected to the system, allowing for fine-tuned management, including enabling/disabling devices, updating drivers, and viewing device properties.
- Driver Updates and Rollbacks: In conjunction with ‘Add New Hardware’, Device Manager allows for the installation of new drivers and rolling back to previous versions if new drivers cause issues.
- Resource Allocation: For advanced users, Device Manager provides insights into resource allocation (like IRQs, DMA channels), crucial for diagnosing conflicts in complex hardware setups.
- Troubleshooting Assistance: Device Manager can indicate hardware issues with alert icons, helping in pinpointing problems and streamlining the troubleshooting process.
6. References
- Official Microsoft Documentation: Detailed guides and support articles on using ‘Add New Hardware’ and Device Manager in various versions of Windows.
- Books and Technical Manuals:
- “Windows Internals” by Mark Russinovich and David Solomon – Sections on hardware management and configuration.
- “Troubleshooting and Maintaining Your PC All-in-One For Dummies” by Dan Gookin – Chapters on hardware installation and troubleshooting.
- Online Resources and Forums:
- Microsoft TechNet and MSDN forums – Discussions and troubleshooting tips related to hardware management in Windows.
- PC hardware enthusiast blogs and websites – Articles and guides on managing complex hardware setups in Windows.